Setting up WSL2 for ServerX Display through host system
Using VcXsrv
This guide is based on debian kernal linux, so set up either ubuntu or kali linux for use with wsl2 and have them installed and configured before proceeding.
Why?
When doing lessons and challenges in TryHackMe, you have a single VPN connection available. This means that you can’t have the VPN connected to your kali instance AND to your windows instance. If you connect to the VPN on your linux instance, you can use your kali tools to work with the target VM, but you can’t use your browser to play with an http server you discover. If you connect to the VPN on your windows instance, you can use your browser as well as use the kali tools, but you would have to set up manual port forwarding for any port that you are trying to set up a reverse shell for, and that’s a pain. If you are doing a task that requires a reverse shell, and your tools listening for the reverse shell are hanging out in your kali VM, that requires you to have used your kali VM to be what is connected to the VPN. This means that any actions that would require interacting with the browser are much more complicated if you aren’t fluent in cUrl or other interaction protocols. Setting up display forwarding will let you keep all the connections happening through your VM, while still letting you see a graphical browser. Having graphics forwarding also allows you to install and use tools like BurpSuite and other UI based tools.
Installing and Configuring VcXSrv
Download VcXsrv from SourceForge. VcXsrv Link
The download you are looking for should look like this.
Install with default settings.
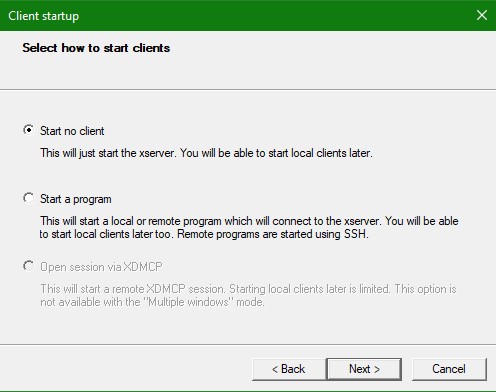
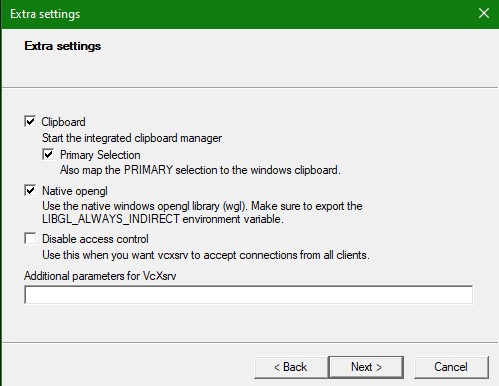
After installation, run it for the first time. Leave all settings default, as we are just creating the firewall rule. When it starts up you should get a windows defender popping up and asking you if you want to allow VsXsrv through the firewall.

After you go to the final confirmation screen and finish, you will probably get a windows defender firewall popup about needing to allow access. Make sure you allow on all network types. The WSL2 NAT Connection is treated as a public network by the operating system.
You should see the xServer icon down in your system tray now. You may need to expand your tray to see it.
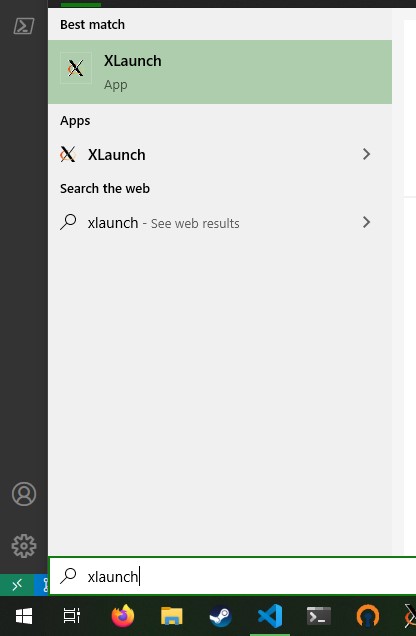
After the server has launched successfully, you can right click it and exit. We can set up a launcher link that handles all the configuration for us for convenience.
I created a shortcut on my taskbar, but you can make one wherever is convenient for you. After you make the shortcut, right click it and get into the shortcut properties.
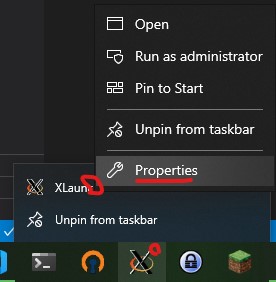
Note: for shortcuts on the taskbar, you have to right click the taskbar icon first, then right click the actual shortcut in the menu that comes up.
In the “Target” section, replace the text with this:
"C:\Program Files\VcXsrv\vcxsrv.exe" :0 -ac -terminate -lesspointer -multiwindow -clipboard -wgl -dpi auto
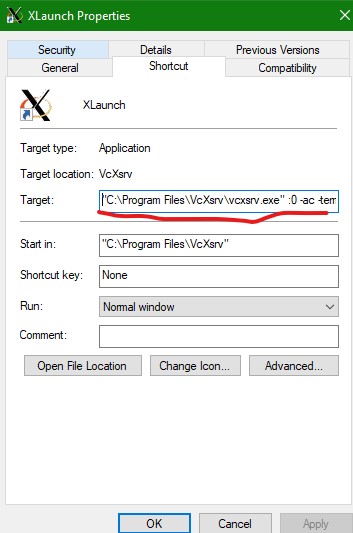
Note the actual file being linked to is changing from the launcher to vcxsrv.exe
Now you will be able to start up the correct configuration with a single click! The server will run and be ready to view displays from the WSL2 instance until you reboot or you manually close it.
Configuring WSL2
Using Kali Linux Installation
Open your kali terminal and open the .bashrc file for editing. This is the script that runs when you start a bash terminal session.
We will be adding settings that will set up the display forwarding.
You can open the .bashrc file with the command:
nano ~/.bashrc
If you have visual studio code installed, you can edit it in vscode with the command:
code ~/.bashrc
If you haven’t tried running code from WSL2 yet, it may need to do some automated setup first to download and configure the code editor file forwarding server.
In this file we need to set the value of the DISPLAY environment variable, as well as set the graphics library to indirect. Add these lines to the end of the file, save, close and restart your WSL2 instance.
export DISPLAY=$(awk '/nameserver / {print $2; exit}' /etc/resolv.conf 2>/dev/null):0
export LIBGL_ALWAYS_INDIRECT=1
Breakdown:
exportis the command to set local environment variables. Format iskey=value, and the normal convention is to have the key in ALL CAPS adding$()in a bash script tells base to process the contents as a sub-command/etc/resolv.confis the configuration that tells the linux instance where to send networking packets to. This will be the IP address if the host windows system, relative to the WSL2 instance’s subnet. Think of the WSL2 as a computer on a network where your windows instance is acting like a router. This IP address will change throughout reboots, so we grab it fresh for each time we actually start the instance.awk '/nameserver / {print $2; exit}' /etc/resolv.conf 2>/dev/nullis a command to tell theawkpattern matching program to look up the IP address itself from the resolv file, and it directs secondary output to /dev/null (meaning it discards it)
Testing with Firefox
If you installed kali linux through the windows store for WSL2, it is not going to have firefox installed. You can install it with the command:
sudo apt-get install firefox-esr
Firefox-esr is the installer for the extended support release of firefox, this is the only one in the package manager preset into kali. If you are using ubuntu, you can just instal firefox directly (no need for the
-esr)
Make sure you have the XServer listening in the system tray. If it’s not open, you will not see the display window open up when you try to start up firefox.
Test opening firefox with:
firefox
If you add ` &` after your command, you will run the bash command in the background.
You should see it pop open a new window showing your browser!
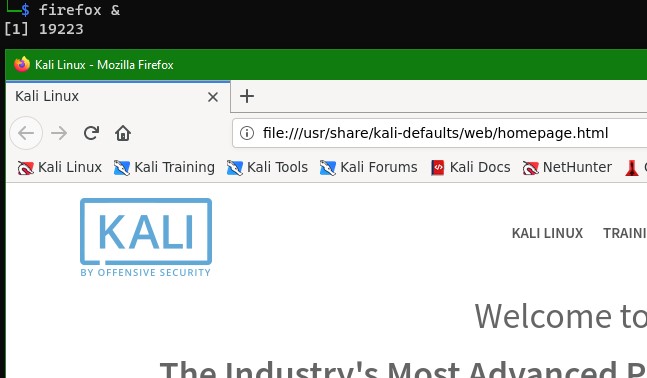
All networking accessed through this browser will be as if it is coming from your WSL2 instance.